How to Start Home Canning (Beginner’s Guide)

9.6.25
by: Jill@321Oak
Pennsylvania, USA
Modern Tools Make Home Canning Easier
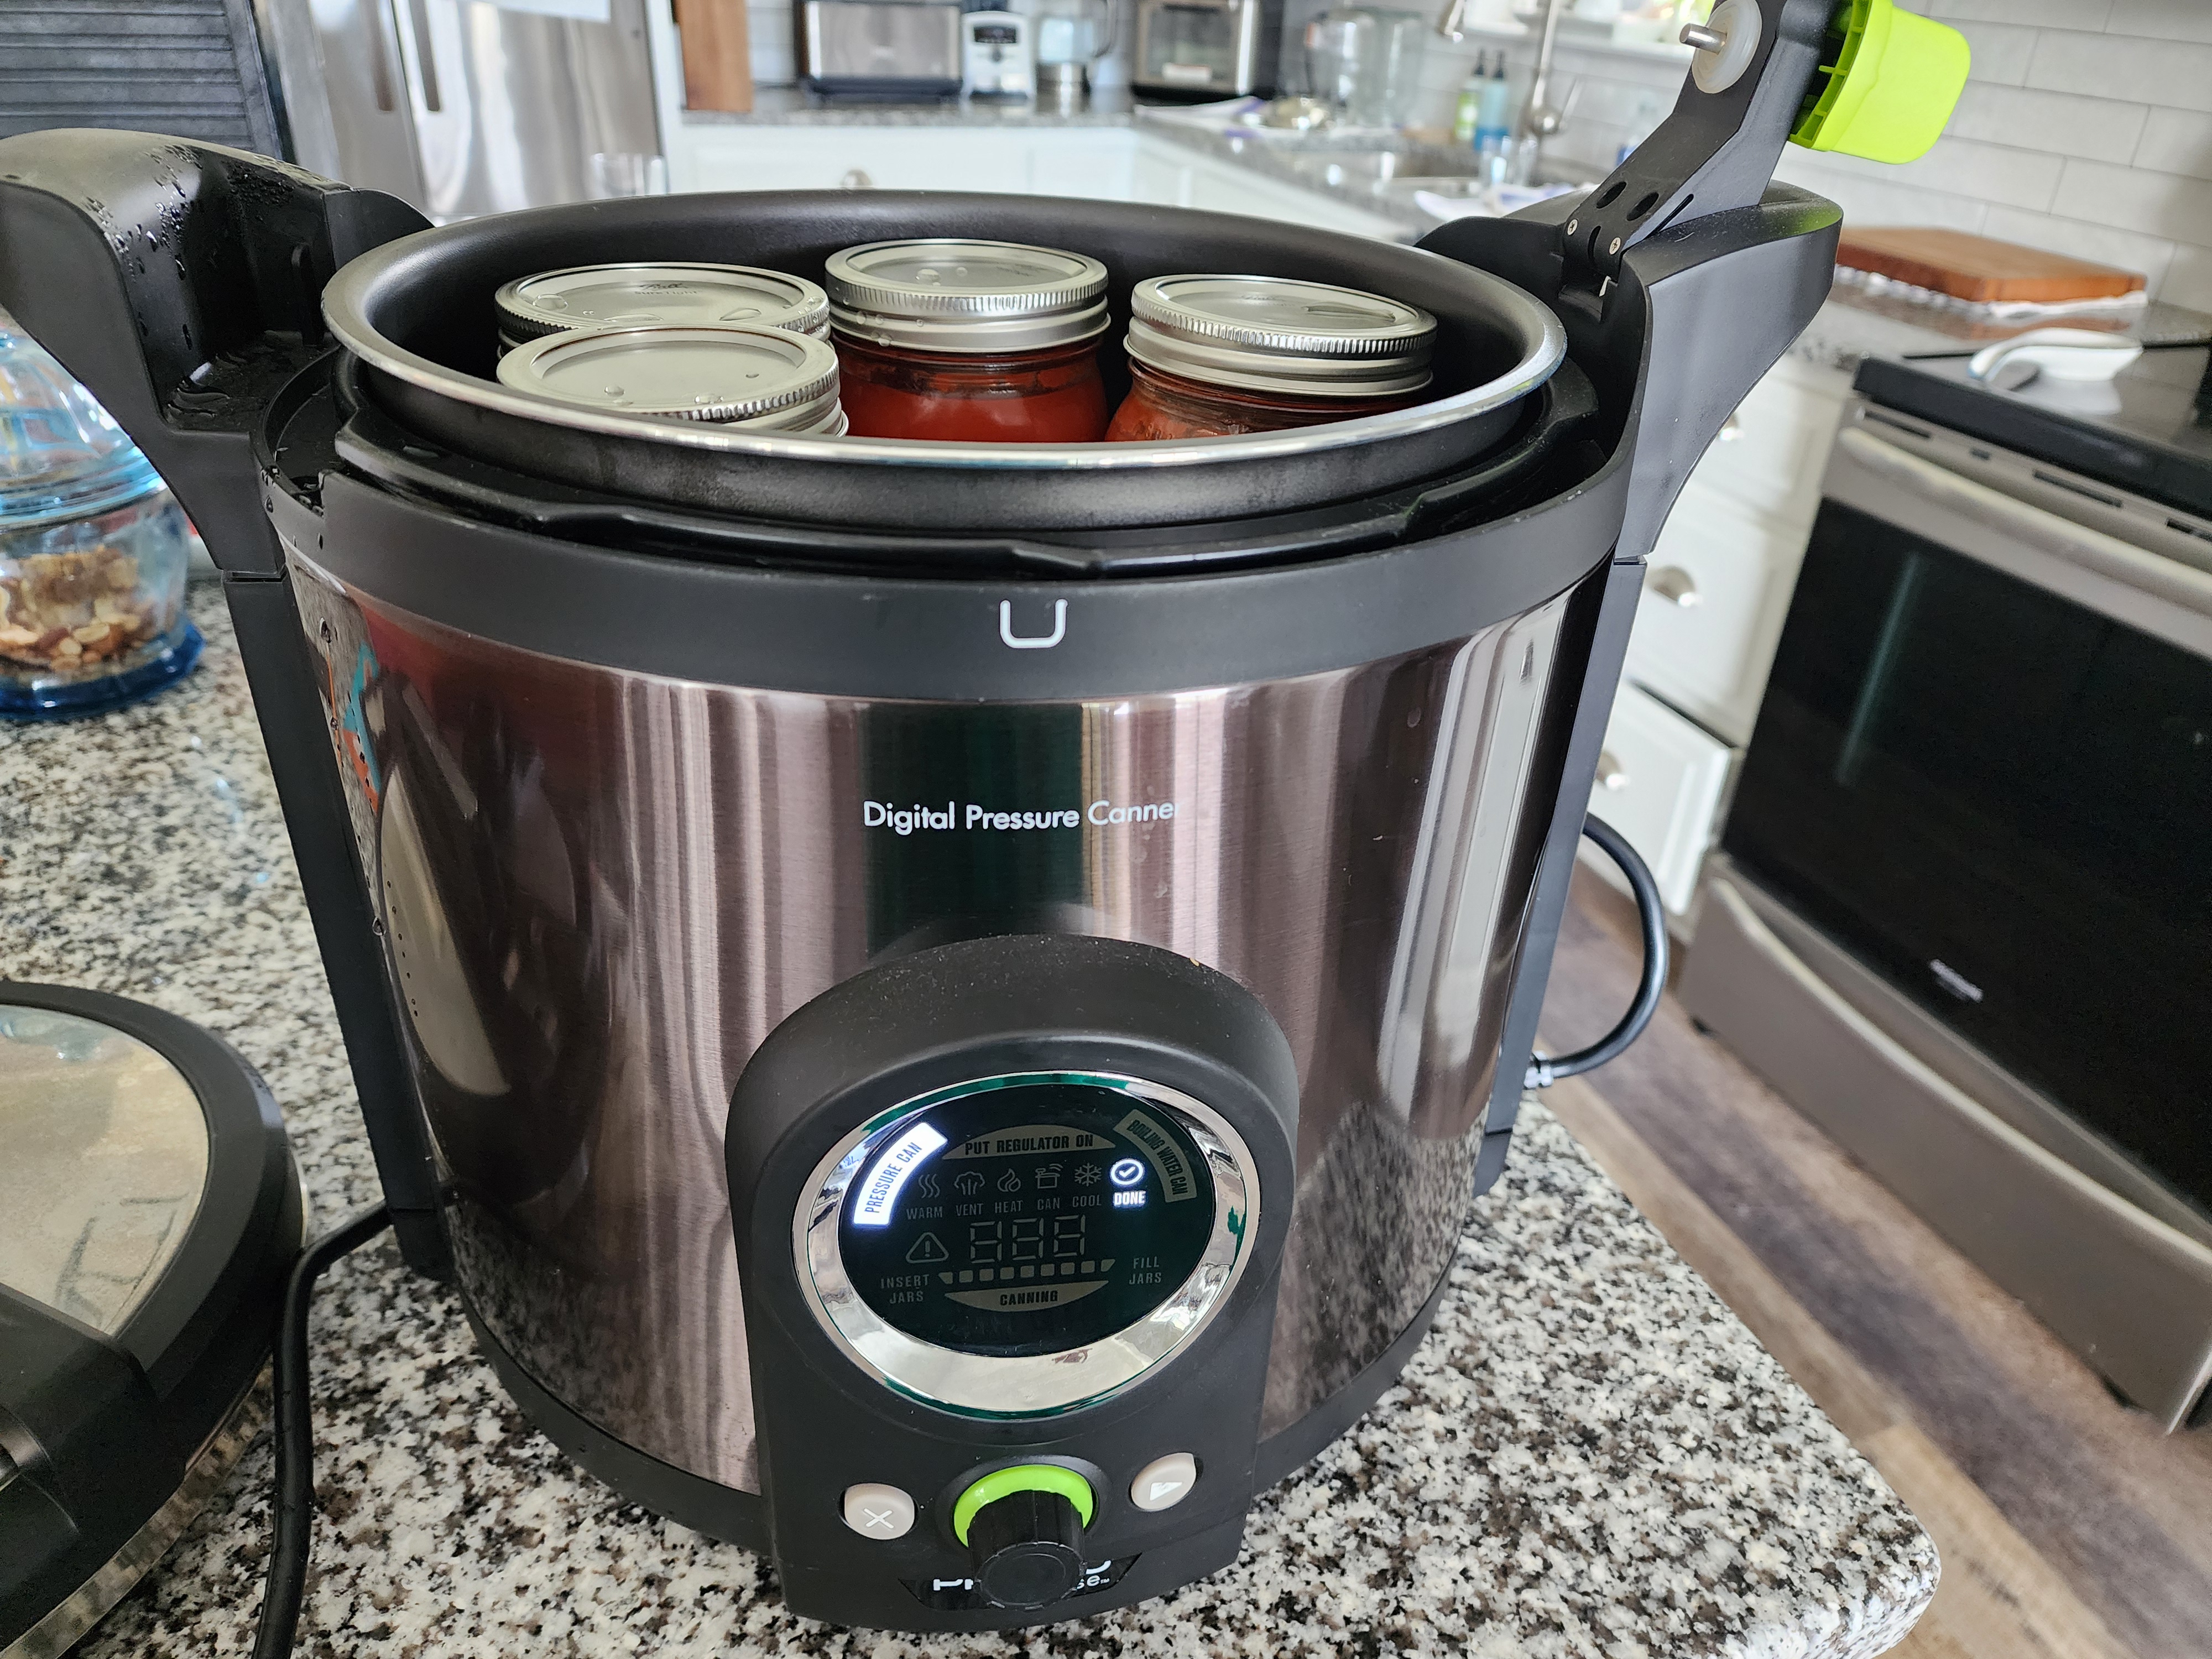
Caption: Electric pressure canner on a kitchen counter.
With modern tools(from electric canners to “Hey Google, set a timer”) canning is much more accessible to hobbyists than it has ever been. And OK, maybe not “easy,” but certainly easier. When I started out, I made the very, very smart decision to get an electric pressure canner. I use it all the time, and I love it. With tools like this, and a little reading, you’ll be off to the races in no time.
I’m New to Home Canning Too
Just to get this out of the way, I’m new at canning too. I’ve been home canning for just a couple of years now. I love it. I love the idea that I’m able to put food up. I love having fresh, homemade food ready to eat and shelf-stable. I love being able to throw together a family meal from it, or have a super low-effort cup of soup for lunch. So, it’s fair to say I’m hooked.
As is my practice, I’ve delved a little too deeply into the research and figuring-it-out phase of my canning journey. And, true to form, I’m sharing what I learn with you. I hope some of this gives you a jump-start on your own journey.
How to Start Home Canning:
- Get Equipped
- Absolute basics: Jars, canning funnel, a pot that’s tall enough to cover the jars with water, a rack or a towel for the bottom of the pot, canning tongs.
- My recommendation: Start with an electric canner. I really think you’ll thank me later (especially an electric pressure canner for low-acid foods).
- Find a recipe
- Websites: Here (eventually), The Canning Diva, University of Georgia
- Books: Blue Book Guide to Preserving
- Get cooking and canning
Home Canning Workflow (Step by Step):
- Overview
- Prepare your equipment
- Prepare your food
- Fill jars
- Wipe rims; put lids and rings on
- Process your jars
- Heat them up, start your timer, monitor, then turn the heat off when time is up
- Cool jars carefully
- Check for seal, wash, label, and store
- Happy canning dance
- Prepare your equipment: wash jars and lids, prep pot and rack, put a kettle on to boil, set up a drying towel and canning tongs.
- As you prepare, be sure that everything is at the same temperature. If you don’t, you risk jar breaks or cracks. Canning jars are tough, but if you change the temperature fast enough, they will break. If you’re cold processing, your food, jars, and canning water should all start cold. If you’re hot processing, warm the canning water, the jars, and the food.
- The only time I’ve ever had a jar break on me was one day when I was doing multiple batches. I had cold-packed food and was loading the second batch. It never even crossed my mind that the water in the pot was still really hot. As soon as the jar hit the water, I heard the crack, the bottom fell out, and I felt like the newb I am. Duh! Obviously that would happen. To do it right, dump the hot water and refill with cold to room-temperature tap water.
- Prepare your food: Get everything ready to go in the jars.
- Fill the jars:
- Use a funnel: keeping the rims as clean as possible will make it easier.
- De-bubble: (remove air):
- What is it: run a chopstick or knife around the inside to get the air bubbles out.
- USDA Guidelines: always de-bubble, every jar, every time.
- My process: I have to admit this is where I’m a tiny bit rebellious—I rarely do this. I do shake or jiggle the jar a bit, maybe tap it, and make sure that it’s as full as possible. If I’m canning something chunky like stew, I’ll do the full de-bubble.
- Measure your headspace and adjust:
- What is it: headspace is the distance from the very rim of the jar to the top of the food.
- USDA Guidelines: strict adherence to headspace in 1/4-inch increments. Jams and jellies are usually 1/4 inch. Fruit and pickles usually 1/2 inch. Everything else usually 1 to 1 1/4 inches.
- My process: Again, the guidelines are pretty tight on this, and I’m a bit rebellious.
- Not too little: It’s important not to have too little headspace; it’ll cause the food to boil over and can cause a problem called siphoning, where food from the jar gets into the canning water and canning water gets into the jar. It’s not dangerous, but it’s annoying.
- Maybe a little too much: I don’t mind having a little extra headspace. Most often, I fill my jars to the first ring in the neck, which on my jars is 1 inch. So, here’s a place where I’ll advise you to choose your own path, and please follow the USDA guidelines if it makes you more comfortable.
- Just a note that unless you have a ton of extra headspace, the risks of too much are lack of a seal (which is obvious) and discolored food at the top layer. I’m pretty OK with both of these.
- Wipe the rims: the rims of your jars need to be clean. Wipe them with a clean rag or paper towel before putting the lids on. If your food is greasy, you can use vinegar to wipe the rims. I don’t do this, again, the risk is simply lack of seal. Which is obvious and easy to manage.
- Put on the lids: rings finger-tight. Here’s a conundrum: what does that mean? I found some guidance when I first started that has served me well. Put two fingers on the lid with one hand and press down slightly. Turn the ring with the other hand; when the jar starts to move, it’s tight enough.
- Why this works: the ring is only there to keep the lid aligned. It has no part in the actual sealing of the food. And your food is going to boil; the lid must be loose enough to let air out.
- This is a key part of canning: you heat the food up, which expands the contents and drives air out. Then, when it cools, the resulting vacuum causes the seal. If you tighten your jars too much, it hampers the sealing process.
- Note that this is only one of the key parts: if food is sealed, then pathogens are prevented from getting into the jar. So, a seal is necessary for a safe can.
- However, a can may seal with viable pathogens still in the jar. That’s why you have to follow the time/temperature guidelines. Without this step, it’s entirely possible to have a sealed jar with pathogens still alive inside.
- Start your canning.
- Heat up:
- Either bring everything to a boil for water-bath canning,
- or heat your canner and vent the steam for 10 minutes.
- Start your timer and lower the heat:
- Timing for water bath starts when you have a rolling boil. Lower your heat, but make sure it continues to boil for the full processing time.
- Timing for pressure canning starts when the weight or regulator is placed on the canner. Lower your heat, but make sure the pressure stays at the required psi. (This is where the electric canner really shines; it does this for you.)
- Heat up:
- Turn off heat: When the time is up, turn off the heat and begin the cooling process.
- For water-bath canning, let it sit, lid off, for 10 minutes.
- For pressure canning, let the pressure release naturally (ALWAYS!). When it’s released, crack the lid, but leave it on the pot for 5 minutes. Then take the lid off, and leave it another 5 minutes.
- Remove jars
- Remove jars from the canner using canning tongs.
- Place them on a towel in a place they can stay for up to 24 hours, undisturbed.
- Space the jars well: allow about 2 inches of space between each one.
- Leave them alone until they reach room temperature; don’t try to slow or speed the cooling process.
- Remove rings; check for seal
- Check to see that the lids have popped down—this signals the seal. This must happen on its own; if you press it and it stays that way, it doesn’t count.
- Any that have not sealed should go in the refrigerator or freezer. They’re perfectly safe to eat but won’t be shelf-stable.
- For jars that did seal,
- Remove the ring: Never store your jars with the rings on. If the seal is strong enough, the lid won’t come off. If it’s not, a ring might allow a jar to reseal, effectively hiding an unsafe jar.
- Wash the jar with warm, soapy water, label it with contents, month and year, and put it on the shelf!
- Do your happy canning dance!
Home Canning: What You Need to Know
- What is it: Canning is the process of heating food sealed in glass jars long enough and hot enough to inactivate any pathogens in the food and make it shelf-stable.
- How long does it last: Once canned, food has a shelf life that’s limited by the physical deterioration of the jar, lid, or seal. "Note: Canned products are best if eaten within a year and are safe as long as lids remain vacuum sealed." (source)
- Do I need a garden or a farm? No, although if you really get into it, you might want one!
- Is it safe? Yes. There are two basic classes of canning.
- Acid level: One is for high-acid foods. High-acid foods are easier to can because the acid content helps to ward off pathogen growth. The other is for low-acid foods (pH 4.6 or higher).
- Canning method: There’s plenty of internet debate, but if you’re just starting, let’s state the facts: The World Health Organization (WHO), the U.S. Food and Drug Administration (FDA), the U.S. Department of Agriculture (USDA), and the European Food Safety Authority (EFSA) all recommend pressure canning for low-acid foods. Some canners choose differently based on tradition or preference.
More Home Canning Reading
Here’s a collection of related articles if you’re ready to start your trip down this rabbit hole:
- Home Canning Risks - Spoilage and Botulism Basics describes some of the more common risks, and how to detect most of them.
- Botulism Facts is just a collection of facts and sources.
- Flat-Sour in Home Canning - Causes and Prevention gives you details of what this relatively common problem is, why it’s common, and how to minimize your risk.
- A Brief History of Canning is exactly that. When we talk about things that “our ancestors” did, let’s be sure we’re taking a look at the facts and see how far that history stretches back.
- The Canning Wars is my description of the interweb’s canning factions, including where I stand and why.
- Home Canning Methods I Don’t Use (and Why) describes some older methods that I avoid.
Video Links:
- These are first videos in my canning series:
- Make Tomato Juice - Just the Facts
- Make Tomato Juice - Ramble Cut
- Turn Juice into Sauce
- Can Tomato Sauce for the Pantry (coming soon - check after 10/1 at 4pm)
- How to use a presto precise digital canner (coming soon - check after 10/4 at 10 am)
Equipment Links:
- Presto Precise Digital Canner 12 Quart: https://amzn.to/473JzLN (this is the one I have)
- Presto Precise Digital Canner 17 Quart: https://amzn.to/3IJ0n1o (this is the one I'd buy if I was starting again)
- Viking 8 quart pasta pot: https://amzn.to/4nRUiyu
- 24 quart stock pot (it's new! You'll see it soon.): https://amzn.to/3KsF3Oc
- Ladel: https://amzn.to/3W4joi1
- Strainer: https://amzn.to/42ki6CY (not the one I have, but the closest I can find)
- Jar Lifter: https://amzn.to/4mMNwcq
- Jars: Quart https://amzn.to/4gMpz3y, Pint https://amzn.to/4gOgYxv, Half Pint https://amzn.to/46O7EoD
- Enamel Dutch Oven: https://amzn.to/46wW6av (Not the on I have, but the one I'd buy if I had to replace mine.)
Feel free to reach out anytime if you have questions or comments about my content!
Links:
YouTube
Instagram
Pinterest
Facebook
Email: jill+comments@321Oak
Note:
- We use cookies for analytics. See our Privacy Policy.
- Disclosure: Some links on 321Oak.com are affiliate links. This means we may earn a commission if you make a purchase through them, at no additional cost to you. As an Amazon Associate, we earn from qualifying purchases.itional cost to you. As an Amazon Associate, we earn from qualifying purchases.